Record your first meeting
Install the desktop app and capture a meeting you can play back and read.
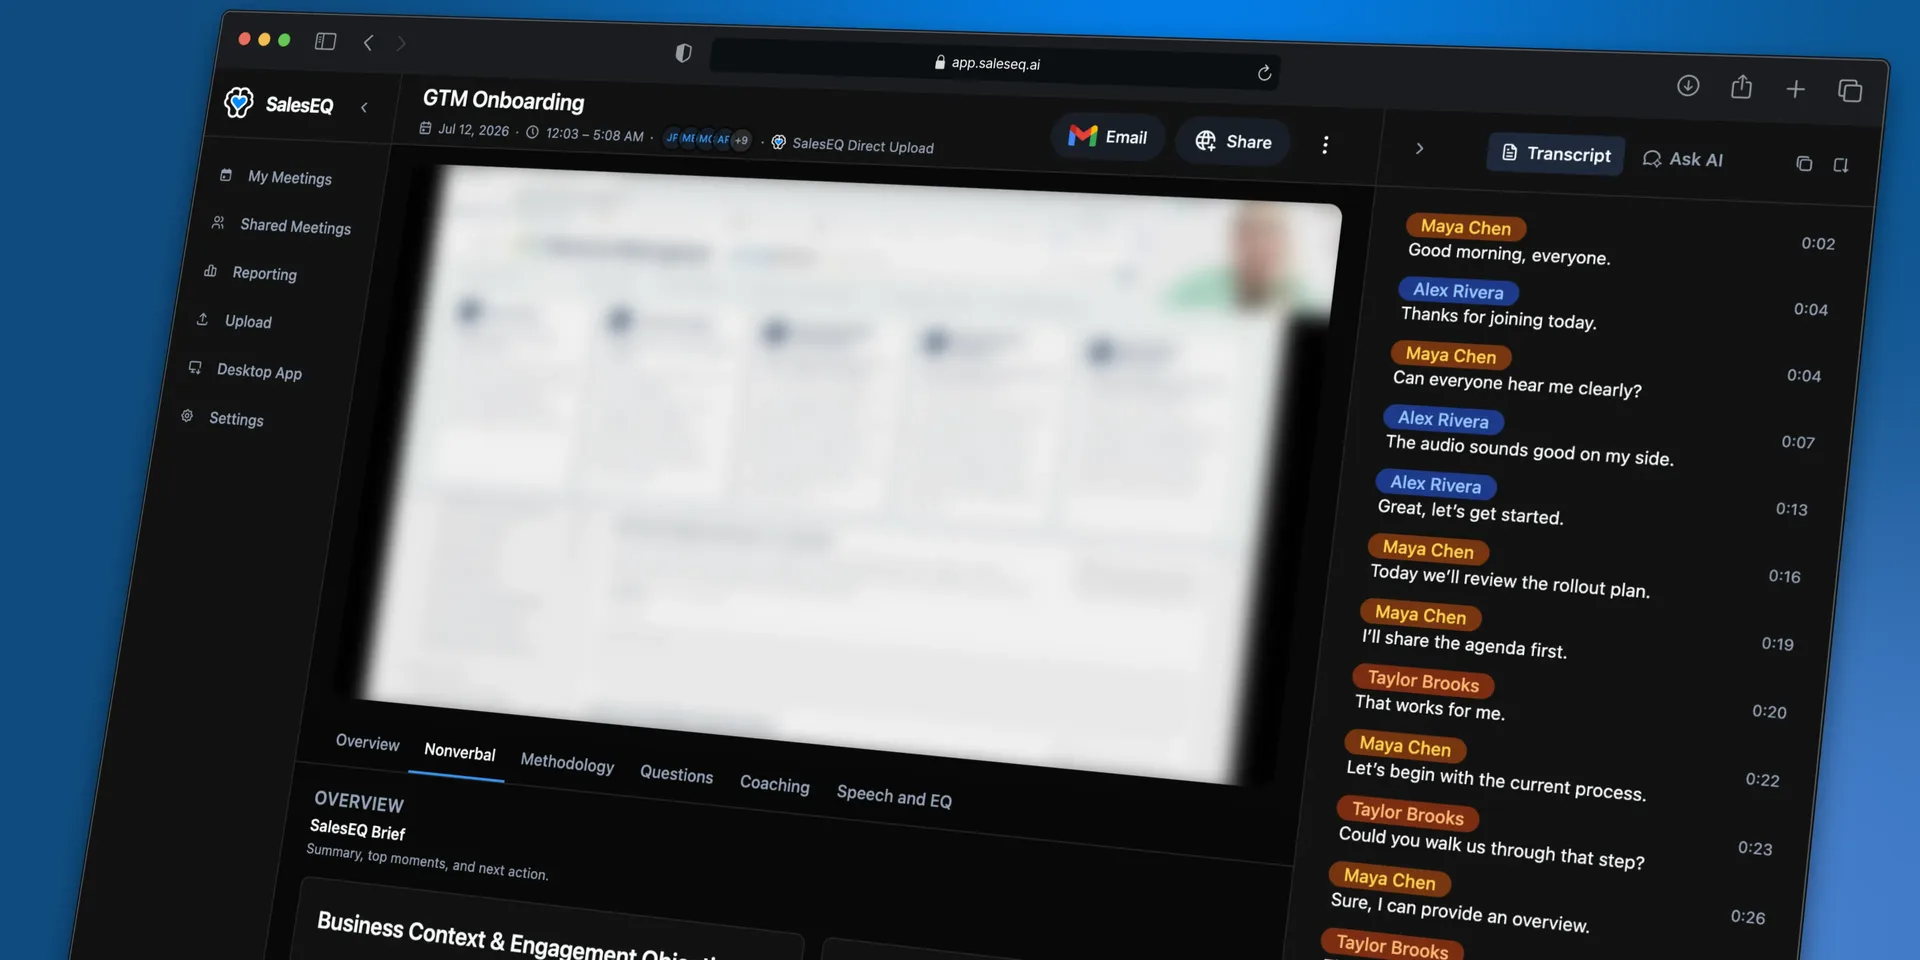
You are in an organization and looking at an empty Meetings page. This guide fills it.
SalesEQ records on your own machine rather than sending a bot to the meeting. Nobody sees an extra participant.
This takes about ten minutes, most of which is the meeting itself.
Before you start
- A SalesEQ account in an organization, from creating one or joining one
- A Mac or Windows machine you take meetings on
- A meeting on Zoom, Google Meet, or Microsoft Teams. An empty one you start yourself is fine. Supported platforms covers Slack huddles and which browsers work for Google Meet.
Install the desktop app
Open Download and get the app for macOS or Windows. You may already have done this during onboarding.
Approve the system permissions
macOS asks before it lets any app reach your screen or your audio, so SalesEQ cannot record until you approve those prompts. Accept each one as it appears. macOS sometimes wants the app quit and reopened before a permission takes effect.
Windows asks for less. Approve whatever it prompts for and carry on.
Sign in
Sign in once the permissions are done. The desktop app hands you to your browser and brings you back afterward.
Join a meeting
Join a real meeting, or start an empty one and sit in it alone if you would rather try this out first. SalesEQ treats both the same.
SalesEQ spots the meeting and shows a bar with a Record button.
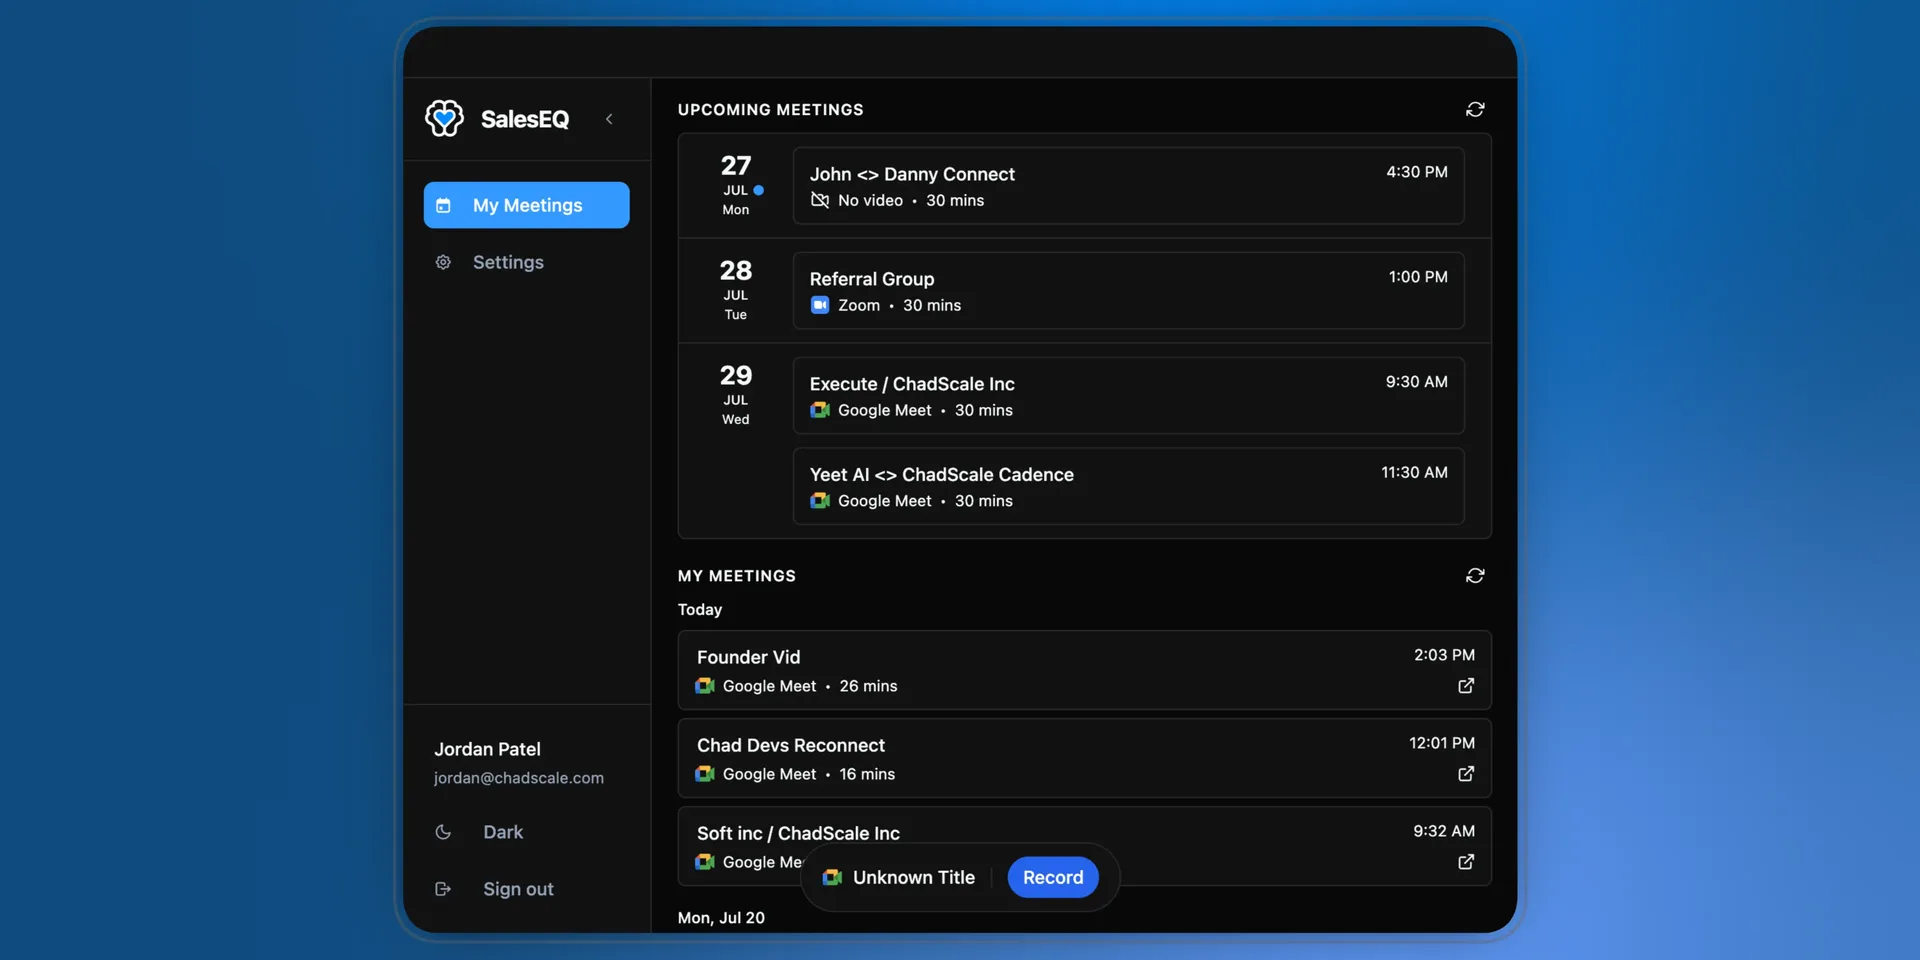
Start recording
Select Record. A control bar appears showing what you are recording and how long it has been running.
Everyone on the meeting is recorded, so tell them first if that is how your team works. SalesEQ can post a notice in the meeting chat for you as recording starts. See Recording notice.
Stop and wait for processing
Stop the recording when the meeting ends. The file uploads and processing starts on its own, and usually finishes inside five minutes.
Processing transcribes the meeting and runs the analysis behind everything in the meeting view. What gets captured covers the parts you end up with.
Open the meeting
Your meeting appears in the desktop app once processing finishes. Select it and it opens in the web app, which is where meetings are watched, read, and shared.
Verify it worked
Opening the meeting is the check. A recording that plays with its transcript beside it means the whole path worked.
Speakers sometimes come through under the wrong name. Rename one in the web app and every line from that speaker updates.
Next
- Automatic recording stops you having to press Record every time.
- Share a meeting covers getting a meeting in front of your team.
- Upload a recording brings in meetings you captured somewhere else.
- Concepts explains meetings, sharing, and groups in eleven short sections.